
How to Backup a vCenter Server Appliance to a Windows Share Leave a comment
Learn this information to learn to backup a vCenter Server Equipment (VCSA) to a Home windows share through the vCenter Server Administration console.
This can be a two-step course of.
Step 1: Create a Home windows Share
- Open the Properties of the backup folder by right-clicking it and choosing Properties.
- Then, click on the Sharing tab after which the Superior Sharing button.
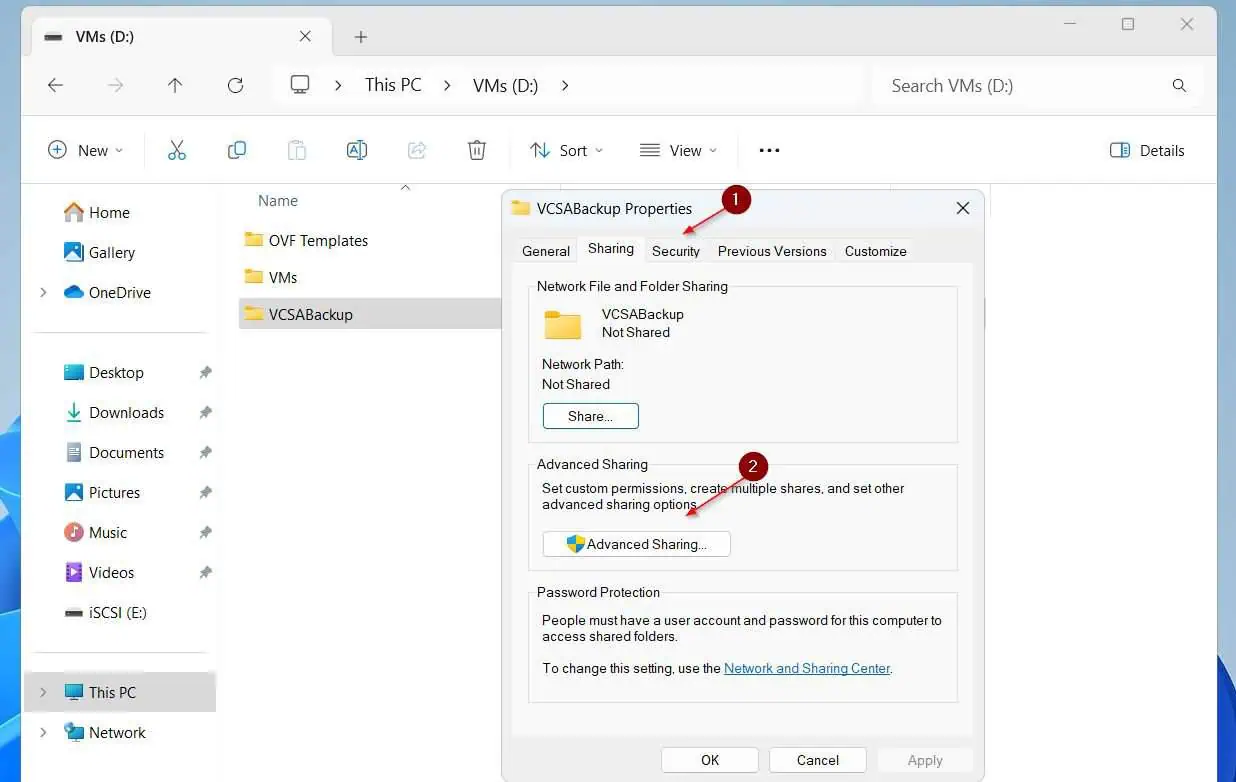
- On the Superior sharing display, verify the Share this folder checkbox, then, click on Permissions.
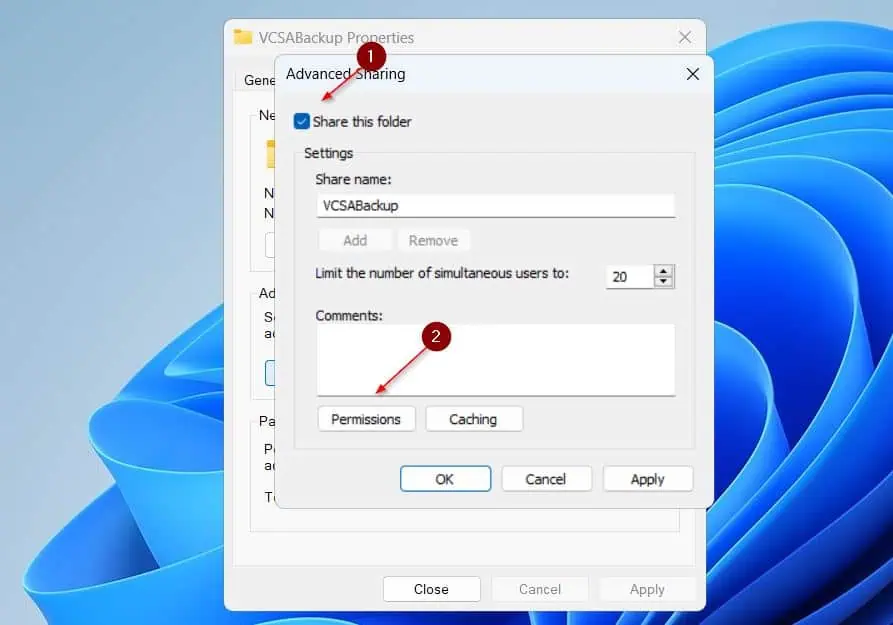
- On the Share permissions display, click on Add. Then add an account you’ll use to entry the share and grant it Full Management permission.

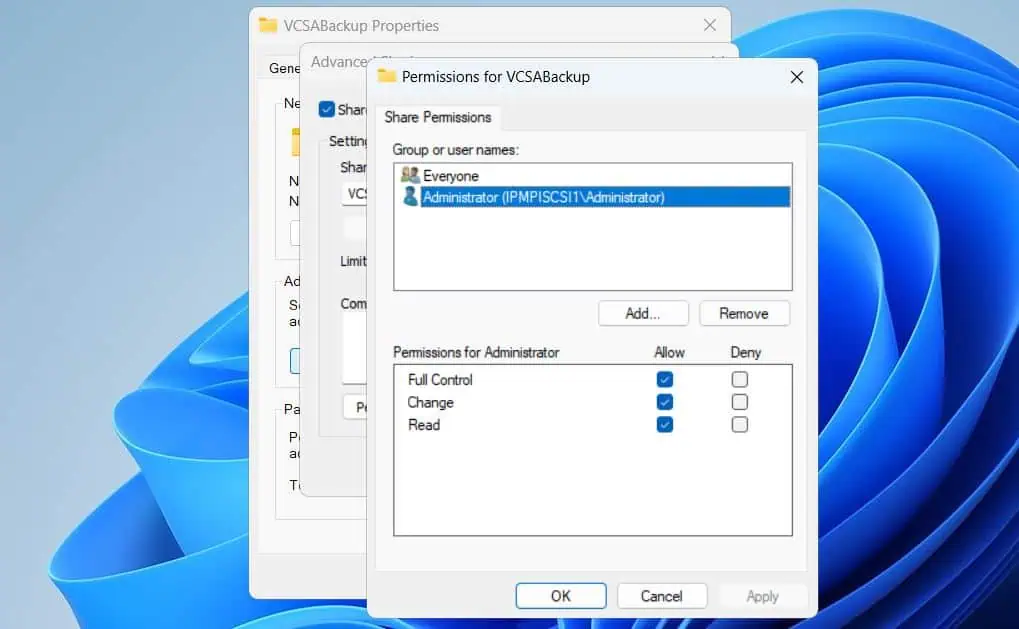
- Earlier than shifting on, get the main points you might want to configure the VCSA backup. Get the shared identify of the folder.
That is the worth after the final slash (/) within the UNC path of the share. Mine is VCSABackup.

Lastly, substitute the IP tackle under with the IP tackle of the pc you created the share. Then, substitute my share identify with yours.
You’ll want this after we configure the backup location for the vCenter Equipment.
smb://192.168.0.105:/VCSABackup
Step 2: Configure Backup on VCSA
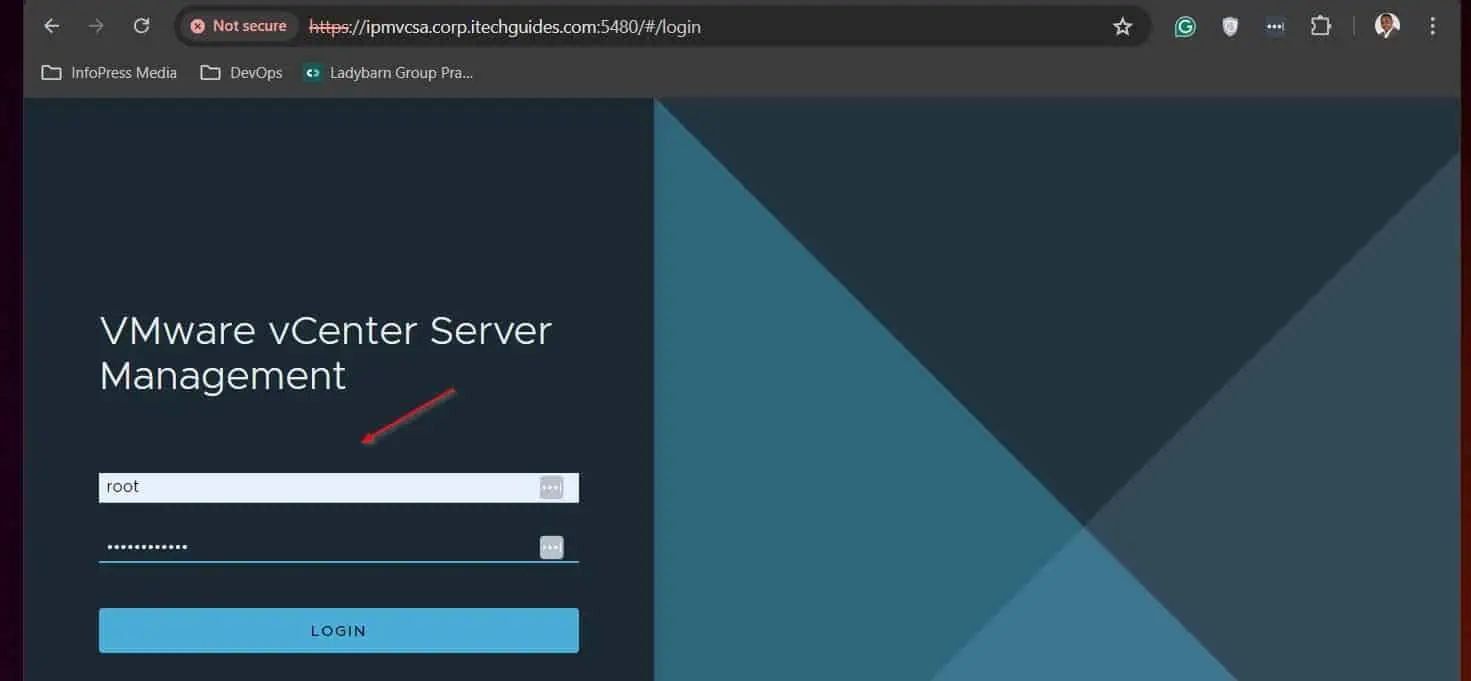
- Open a browser and enter vCenter FQDN on port 5480. Mine is proven under. This hyperlink opens the administration interface of the equipment.
https://ipmvcsa.corp.itechguides.com:5480/
- Sign up with the equipment’s root account.
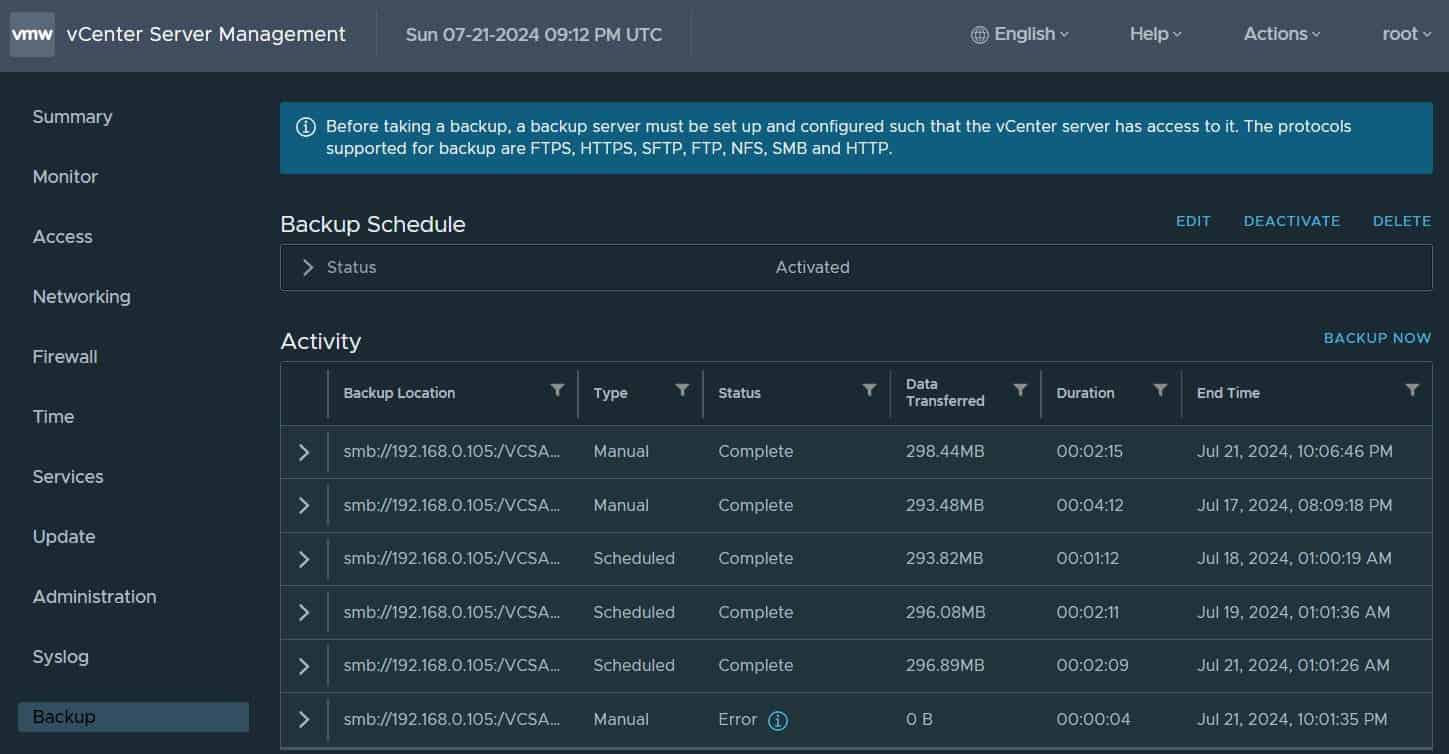
- After signing in, click on Backup on the backside of the left menu, then click on CONFIGURE.
When you learn the message on high of the Backup web page, it specifies the protocols supported. One in every of them is SMB. We are going to use the SMB protocol.

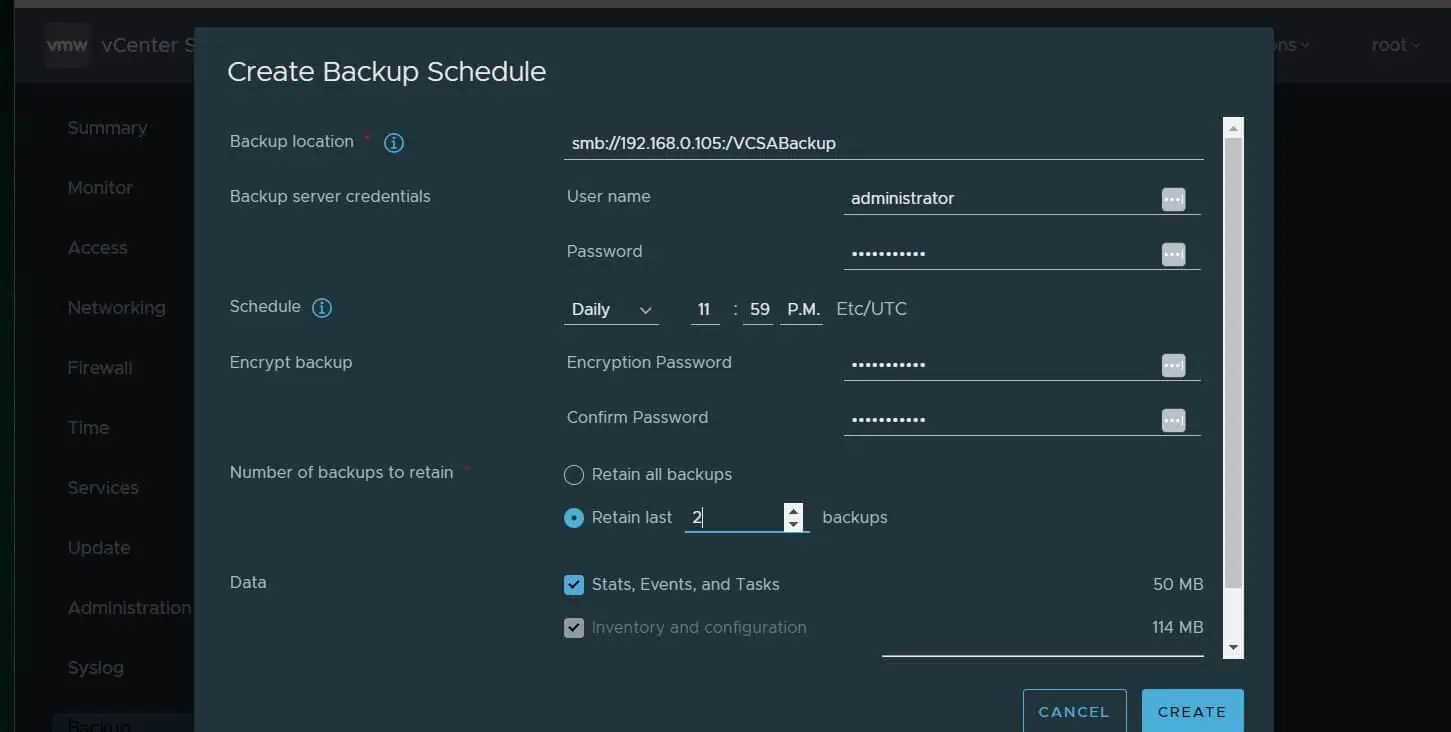
- Lastly, on the Create Backup Schedule web page, enter the required data and click on CREATE.
The backup location is the situation you famous within the final part. The consumer identify and password are the credentials of the Home windows account you granted entry to the share. In the meantime, the Encryption password protects the backup from unauthorized entry. Lastly, resolve what number of backups you wish to preserve and when the again up runs.
The backup schedule can be created. To see the main points, click on the increase button. You may also take a guide backup by clicking BACKUP NOW.

Conclusion
The vCenter Server Administration gives a wonderful backup instrument. That is appropriate for environments that should not have enterprise-level backup instruments like Veeam.
As I’ve proven on this information, you’ll be able to full this activity in two easy steps.
Firstly, create a Home windows share and assign the mandatory permissions. After that, create a scheduled backup on the vCenter Server Administration net console.
Let me know your ideas about this information by responding to the “Was this web page useful?” suggestions request under.